
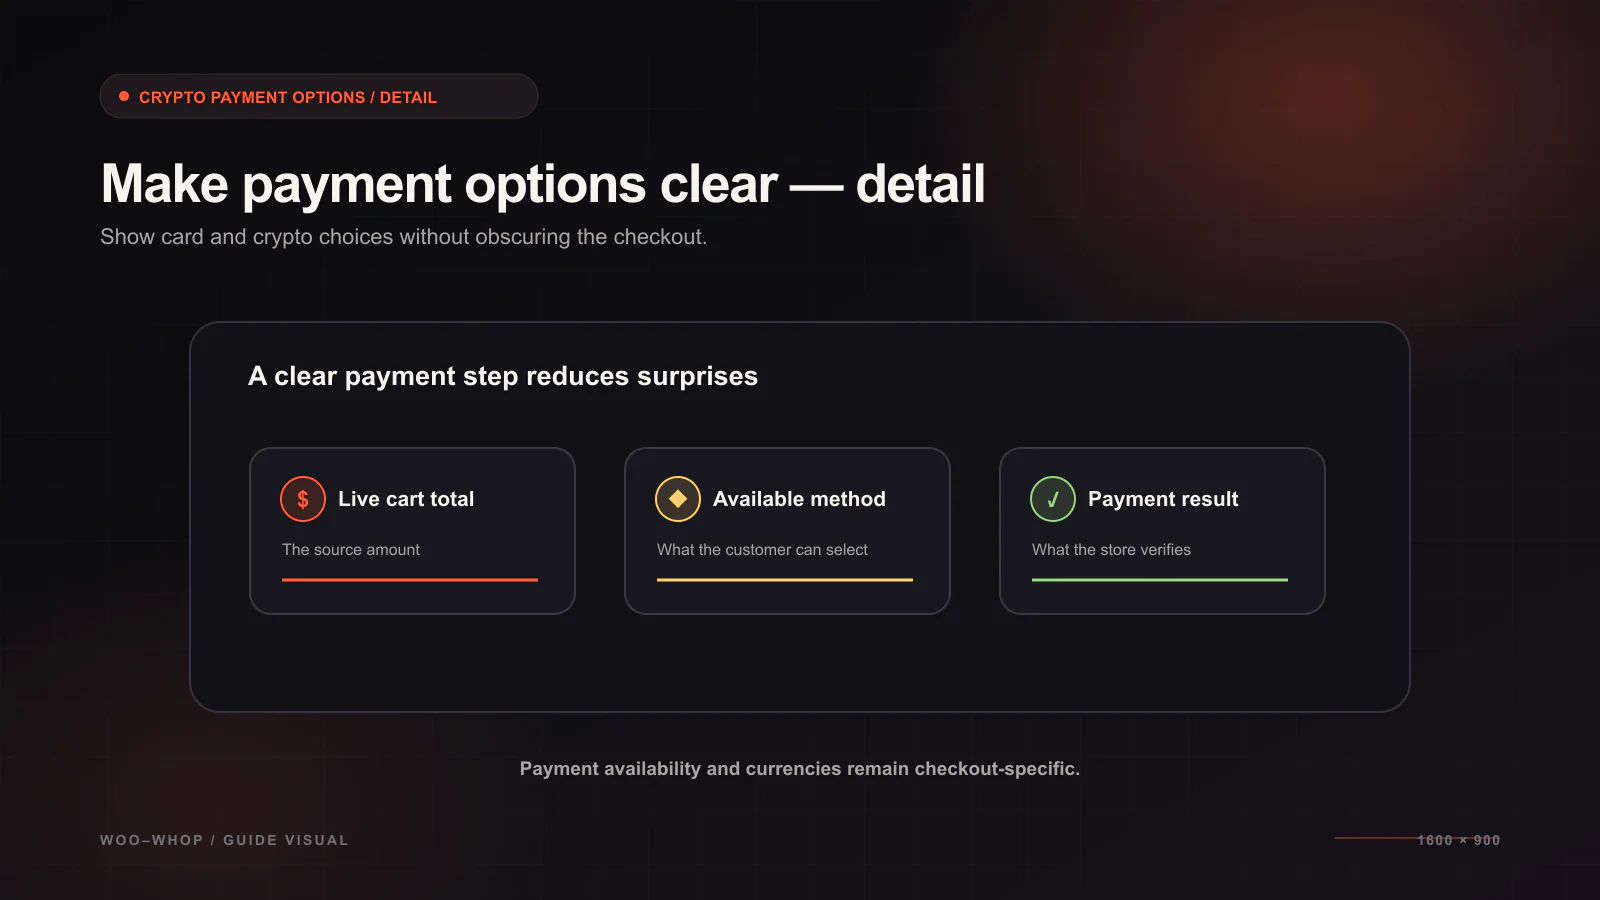
A WooCommerce store can use Woo-Whop to offer crypto payment options through Whop where those options are available. The key qualifier is important: payment methods are subject to Whop availability, so the integration should be configured and tested against the payment experience available to your account and checkout context. The plugin itself connects the live WooCommerce cart to Whop checkout and validates the signed payment result before the matching order is treated as paid.
This is not a separate crypto-only order system. Woo-Whop gives the store one payment integration with a consistent checkout-creation and confirmation path. Card and crypto payment options can be presented through Whop where available, while WooCommerce remains the storefront and order hub.
Understand the payment scope before enabling it
Woo-Whop is responsible for the payment connection: it creates a one-time plan from the live cart, opens the selected Whop checkout mode, and checks the signed payment.succeeded event before WooCommerce marks the order paid. It does not replace your product descriptions, customer support, fulfilment process, or store policies.
| Store task | How it is handled |
|---|---|
| Manage products and prices | WooCommerce remains the storefront source of truth. |
| Create the checkout payment context | Woo-Whop creates a one-time plan from the live cart. |
| Present available payment options | Whop presents card and crypto options subject to availability. |
| Confirm a payment before an order is paid | The signed event is checked against plan, company, amount, and currency. |
| Deliver the product or service | Use your own WooCommerce and business fulfilment workflow. |
Configure the WooCommerce payment connection
- Install and activate Woo-Whop on the WordPress site.
- Open the Whop gateway settings in WooCommerce and enter the required Whop credentials.
- Keep sandbox enabled while you test the payment path.
- Choose a checkout presentation mode: Embed, Popup, or Direct Redirect.
- Register the webhook endpoint used for signed
payment.succeededconfirmation. - Place a sandbox order and inspect the resulting WooCommerce order state.
- Before live use, confirm the storefront and webhook endpoint use HTTPS.
You do not need to create manual Whop plan IDs for every WooCommerce product. The gateway creates the one-time plan from the live cart at checkout. That keeps the payment request tied to the product selection and amount the customer currently has in the cart. See the manual plan mapping guide for a deeper explanation.
Pick a checkout mode that fits the store
| Mode | Customer journey | What to validate in sandbox |
|---|---|---|
| Embed | Payment appears in the WooCommerce checkout page. | Layout, checkout fields, and mobile readability. |
| Popup | Payment opens in an on-page checkout popup. | Opening, closing, focus behaviour, and small-screen behaviour. |
| Direct Redirect | Payment continues on Whop's hosted payment page. | Hosted checkout flow, return experience, and theme compatibility. |
The mode affects presentation, not the core confirmation logic. In every mode, the checkout begins with the live WooCommerce cart and the subsequent payment confirmation needs to match the expected values. Read the Embed, Popup, and Direct Redirect guide to choose a mode deliberately.
Validate the payment result before fulfilling an order
It is unsafe to treat an on-page success message or a browser return as the only proof that an order has been paid. Woo-Whop handles a signed payment.succeeded event and validates the expected plan, company, amount, and currency. Only the matching confirmation should move the relevant WooCommerce order into a paid state.
- Plan: ties the event to the one-time checkout created from the cart.
- Company: confirms the Whop account context expected by the store.
- Amount: confirms the payment corresponds to the expected checkout total.
- Currency: confirms the payment is in the currency context expected for the checkout.
Use sandbox to see the whole event-to-order path before you depend on it in a live workflow. Our webhook configuration guide explains the validation sequence and the setup checks to complete.
Test availability and set accurate expectations
Do not market a particular crypto method, named asset, or payment outcome until you have confirmed what Whop makes available for your own checkout context. Describe the checkout in accurate terms: the store offers the payment options Whop makes available, and customers will see the applicable choices in the payment flow.
That approach also helps support teams. They can explain the product independently from the payment method, and they can investigate an order based on a verified WooCommerce order state rather than a customer screenshot or return URL alone.
International store testing
Woo-Whop supports 47 listed native store currencies. If the store uses another currency, the checkout converts it to USD with a guarded live rate. The payment form offers 28 language options and can map automatically to the WordPress locale. Test the currency and language contexts that your customers actually use, particularly if you run a localised WooCommerce storefront.
For the currency side, follow the WooCommerce cart currency matching guide. For a combined card-and-crypto overview, see how to accept card and crypto options on WordPress with Whop. The documentation covers the installation sequence for Classic checkout, Checkout Block, and HPOS.
When configured carefully, the value is straightforward: one WooCommerce payment connection, a live-cart checkout, payment options shown subject to Whop availability, and explicit signed confirmation before the order is treated as paid.