
A Whop WordPress plugin should make one job clearer: connect the WooCommerce cart your customer sees to a Whop payment flow without turning your catalogue into two systems to maintain. Woo-Whop is built around that boundary. WooCommerce remains the storefront and order hub; the gateway creates a Whop checkout from the live cart and only marks the order paid after the expected payment confirmation is validated.
That is a useful model for a WordPress store because it keeps product, price, and checkout context close to the place where you already manage them. It also gives you a deliberate choice of presentation: Embed, Popup, or Direct Redirect. This guide explains the practical reasons to use that model, the checks behind it, and the setup decisions worth making before a live launch.
1. Build each checkout from the WooCommerce cart
Woo-Whop reads the current WooCommerce cart when the customer starts payment and creates a one-time plan for that checkout. There is no per-product Whop plan mapping to enter by hand. That matters whenever a catalogue changes, because the checkout is based on the cart that exists at the payment step rather than on a static list maintained somewhere else.
The benefit is not a promise that every store workflow is automatic. It is a simpler source of truth for payment creation: maintain products and prices in WooCommerce, then let the gateway use that live cart context when it creates the payment flow. If you are evaluating this architecture first, read why live-cart checkouts remove manual plan mapping.
What stays where
| Responsibility | Where it belongs |
|---|---|
| Products, prices, and cart contents | WooCommerce |
| One-time payment plan for the current checkout | Created by the gateway from the live cart |
| Payment experience | Whop checkout, shown through the selected mode |
| Order status after payment | WooCommerce, after validated confirmation |
2. Choose the checkout presentation that suits the store
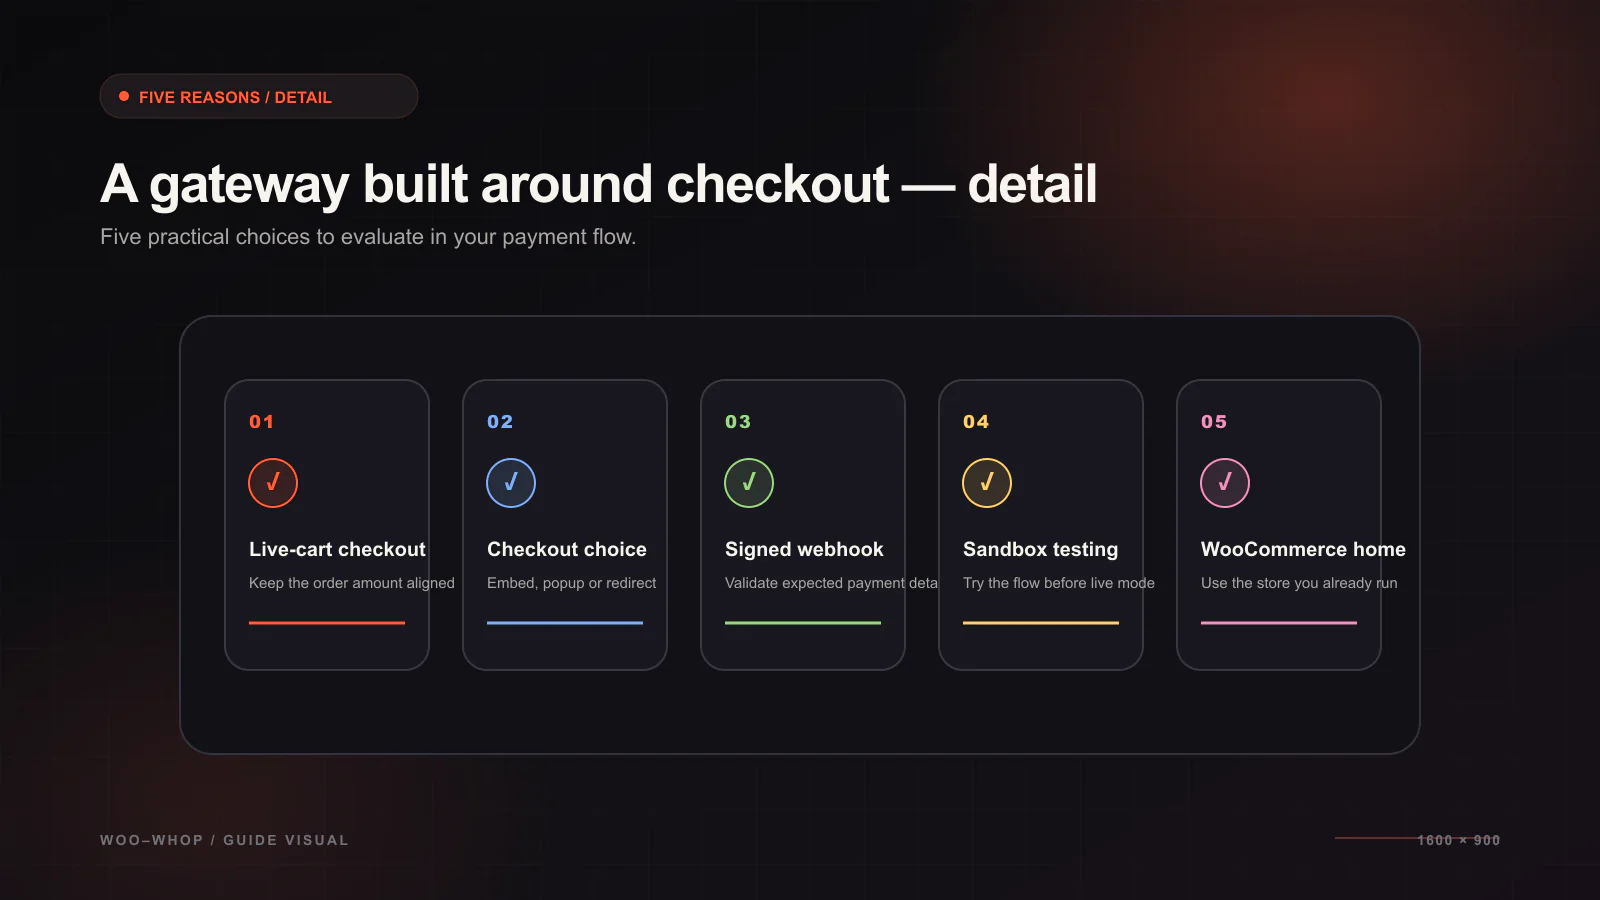
A payment gateway should not force every theme and checkout build into the same layout. Woo-Whop offers three modes, each with the same live-cart and order-confirmation foundation:
| Mode | Customer experience | When to test it first |
|---|---|---|
| Embed | The payment form is shown on the WooCommerce checkout page. | Most standard checkout layouts. |
| Popup | The payment flow opens in an on-page checkout popup. | Stores that want payment separated visually from the checkout form. |
| Direct Redirect | The customer continues to Whop's hosted payment page. | Highly customised themes or a compatibility-first rollout. |
There is no universally correct mode. Embed can make the payment step feel continuous with the WooCommerce checkout; Popup keeps the page context visible behind the payment flow; Direct Redirect gives a clean hosted alternative. Test the actual checkout, including on a phone, before deciding. Our Embed, Popup, and Direct Redirect guide walks through that decision in more detail.
3. Keep paid-order confirmation deliberate
Payment confirmation is the part of a gateway integration that deserves the most care. A browser return by itself is not enough evidence to treat an order as paid. The gateway receives a signed payment.succeeded event and checks that the payment belongs to the expected plan and company, then validates the expected amount and currency before WooCommerce treats the order as paid.
Those checks tie a payment event to the checkout that created it. They also keep your order workflow anchored to the values that matter most: the specific plan, the company, the total, and the currency. See the companion WooCommerce and Whop webhook security guide for the verification sequence and test checklist.
4. Use it with modern WooCommerce checkout foundations
Store builds vary. Some still use the Classic checkout, while others use the newer Checkout Block. Many shops also rely on High-Performance Order Storage (HPOS). Woo-Whop supports Classic checkout, Checkout Block, and HPOS, so the gateway can be evaluated against the checkout and order-storage setup you already run rather than requiring a storefront rebuild.
Compatibility is still something to test in your own stack. Theme customisations, checkout-field plugins, caching, and other payment plugins can affect page behaviour. Start in sandbox, use a simple test product, and confirm the resulting order status before changing the live checkout.
5. Make international payment details easier to reason about
The gateway can use 47 listed native store currencies. When a store currency is outside that set, the checkout uses a guarded live rate to convert it to USD rather than silently treating the same number as a different currency. The payment form also has 28 language options and can map automatically to the WordPress locale. These are capabilities to configure and test, not a substitute for checking the copy, prices, and legal requirements of each market you serve.
For a store that changes currency by visitor or region, the key test is simple: confirm that the cart currency and displayed payment currency make sense together. The detailed process is covered in the WooCommerce and Whop currency matching guide.
Pre-launch checklist
- Install and activate the gateway, then connect the required Whop credentials in WooCommerce payment settings.
- Choose Embed, Popup, or Direct Redirect and test it on desktop and mobile.
- Enable sandbox and place a test order before using live payment settings.
- Register the webhook endpoint and confirm a signed
payment.succeededevent produces the expected WooCommerce order state. - For live payment traffic, make sure the store is served over HTTPS.
- If you serve more than one locale or currency, repeat the sandbox check for each important storefront configuration.
The right reason to use a Whop WooCommerce plugin is not a vague claim about payment processing. It is the operational model: the live WooCommerce cart creates the one-time checkout, the store can select a compatible presentation mode, and a signed payment event is checked before an order is marked paid. Start with the installation and configuration documentation, then use sandbox to prove the path in your own store.