
Stores sometimes sell a WooCommerce product whose description refers to community access, a private channel, a downloadable resource, a service period, or another entitlement. In that situation, it is important to separate the payment gateway's job from the store's fulfilment job. Woo-Whop handles the WooCommerce-to-Whop payment connection. It creates the payment from the live cart, presents the selected checkout mode, and validates payment confirmation before the WooCommerce order is marked paid.
It does not configure community platforms, assign roles, issue invitations, create membership rules, or manage fulfilment for you. Those are separate store workflows that must be designed, tested, and maintained by the merchant. Keeping the boundary clear gives customers a more accurate expectation of what happens after they pay and helps you build a fulfilment process that matches your own products and policies.
Start with a clear WooCommerce product
Before configuring payment, make the product page easy to understand. If you sell access of any kind, describe what the customer receives, when they should expect it, where you will communicate with them, and who to contact if there is a problem. Do not rely on a payment confirmation page to explain the actual product.
| Part of the customer journey | Store owner responsibility |
|---|---|
| Product description and customer expectations | Write and maintain it in WooCommerce. |
| Payment checkout | Woo-Whop creates a one-time Whop checkout from the live cart. |
| Payment confirmation | Woo-Whop validates the signed payment event before the WooCommerce order is marked paid. |
| Access, delivery, or any community workflow | Configure and operate this separately for your business. |
| Customer support and terms | Keep contact and policy details clear on your own site. |
Use the payment gateway for the payment layer
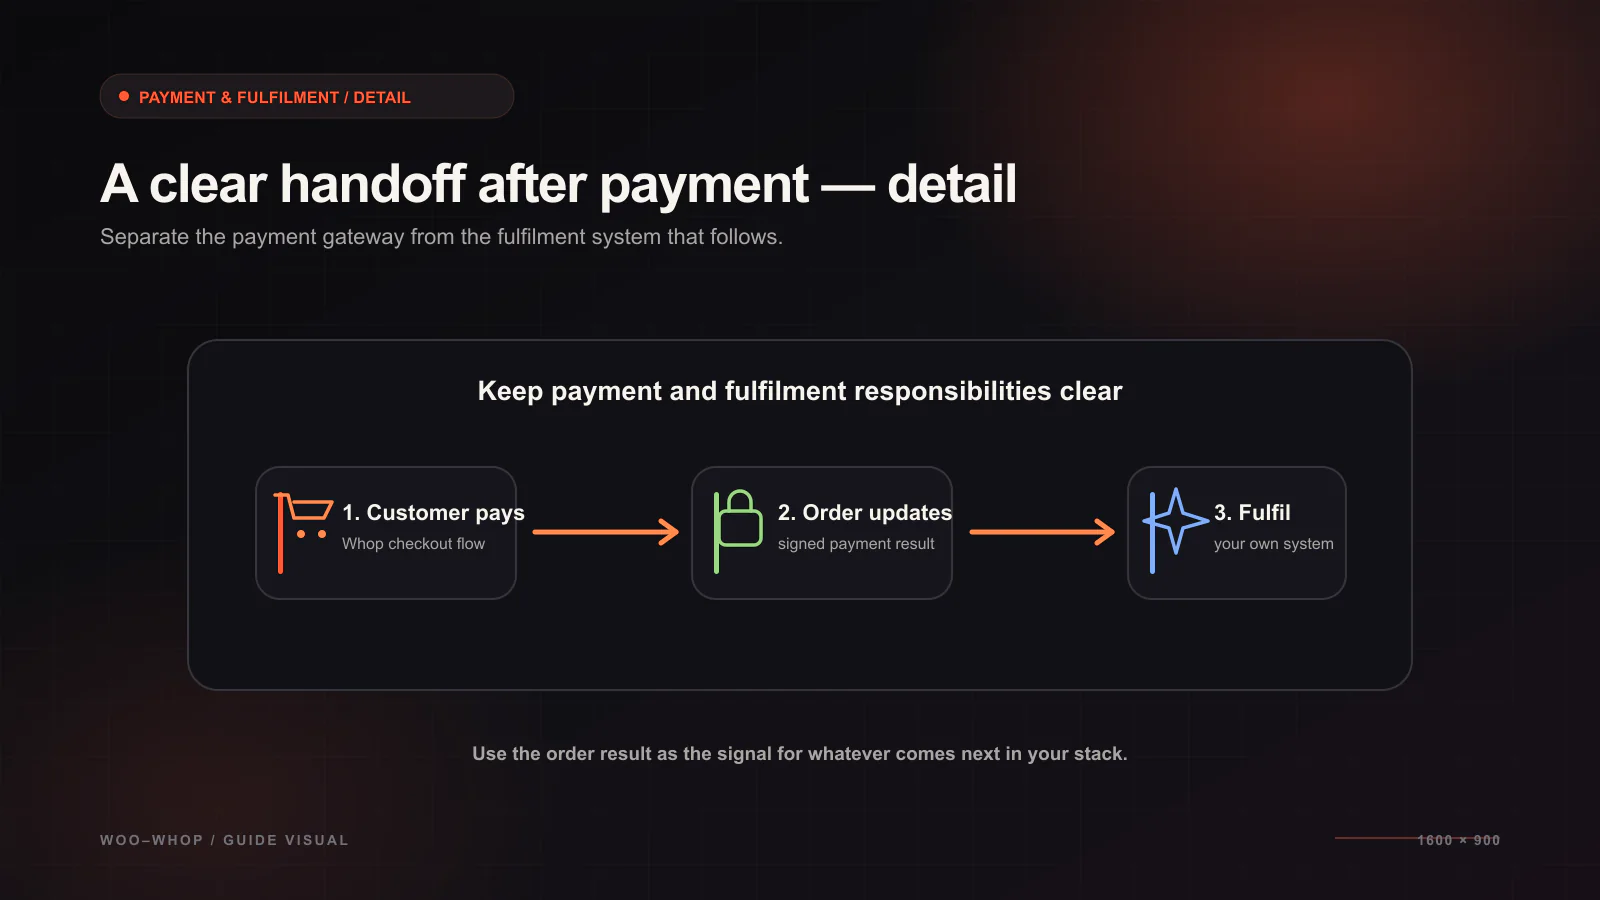
When a customer reaches checkout, Woo-Whop reads the current WooCommerce cart and creates a one-time plan. This means you do not need to manually map each product to a Whop plan ID. Your WooCommerce store remains the source of truth for the product and cart; the payment plan is created for the order currently being placed.
Card and crypto payment options may be available through Whop, subject to Whop availability. Treat that as a payment presentation detail, not as a promise about a specific payment method for every buyer or store. Your product page should focus on what you sell, while the checkout should make payment options clear in the context of the selected Whop payment flow.
Choose how payment appears at checkout
- Embed: display the payment form on the WooCommerce checkout page.
- Popup: open the Whop payment experience in an on-page checkout popup.
- Direct Redirect: move the customer to Whop's hosted payment page.
The mode does not decide what customers receive after payment; it only changes the presentation of the payment step. Pick a mode that works well with your actual checkout layout, then test it on mobile as well as desktop. Our checkout mode guide explains the practical differences.
Why confirmed payment should come before fulfilment
A browser return or a customer message is not a dependable substitute for a validated order state. Woo-Whop listens for a signed payment.succeeded event and checks the expected plan, company, amount, and currency. Only when those values match should WooCommerce treat the order as paid.
That verified order state is the appropriate point for your separate fulfilment process to begin. What that process does is up to the store: it may be manual review, an email sequence, a fulfilment provider, or another business system. The key is not to claim that the gateway performs those separate activities. It provides the verified payment result that your WooCommerce workflow can rely on.
Practical setup and testing checklist
- Create a test WooCommerce product with accurate customer-facing wording.
- Connect the Whop credentials in WooCommerce payment settings.
- Keep sandbox enabled while you test the checkout and resulting order.
- Select Embed, Popup, or Direct Redirect and test the actual product checkout.
- Register the webhook endpoint and confirm the signed
payment.succeededevent validates the plan, company, amount, and currency. - Confirm the order becomes paid only when the expected confirmation path completes.
- Run your separate fulfilment process from the appropriate order state and document it for your team.
- Before live use, make sure the storefront and webhook endpoint are served over HTTPS.
Keep international customers in mind
If your access product is sold internationally, test the customer experience in the locales and currencies that matter to your store. Woo-Whop supports 47 listed native store currencies; other store currencies are converted to USD using a guarded live rate. The payment form has 28 language options and can map automatically to the WordPress locale. These capabilities help you test a clearer payment path, but your own product instructions and support process should also be suitable for the audiences you serve.
Continue with the cart currency matching guide if your store uses more than one currency, and read the webhook verification guide before relying on the payment confirmation in any downstream workflow. For installation details, see the Woo-Whop documentation.